iPhone & IPad USERS: LONG PRESS ON THE MENU FOR DROP-DOWN OPTIONS

TERMS OF USE: All patterns shared on fandominstitches.com are derivative art created by fans and are free for your personal & non-profit use ONLY.  Patterns
 are not to be used for distribution, resale, or manufacture. That means no selling the patterns themselves, PHOTOS, physical projects made using these patterns (including but not limited to: commissions, custom work, no selling on Etsy, Ebay, craft shows, etc), or for-profit classes using these patterns. By downloading/printing these patterns, you agree to these terms. For more info, please visit our FAQ page. 
Showing posts with label how to. Show all posts

Sunday, August 31, 2014

Tutorial: Transfer an embroidery pattern onto dark or heavyweight fabric


This tutorial was written by Thorn Trace for her blog. Reposted with permission. You can see the original post here.

I used to avoid stitching on dark colored fabric because I had the worst time transferring the pattern.  I tried transfer papers from the sewing and quilting departments, but the lines always smudged and smeared or rubbed off entirely while I stitched.  I don't like transfer pencils because I want my marks to disappear.  Finally I discovered this stuff when a friend of mine started machine embroidering.

It's a water soluble stabilizer that's designed to be used with embroidery machines (yes, that's right, water soluble).  I use it to transfer my hand embroidery patterns. Solvy is made by Sulky, but Pellon makes a similar product.  I've also found it sold by the yard at some craft stores.

Here's how I use it: 

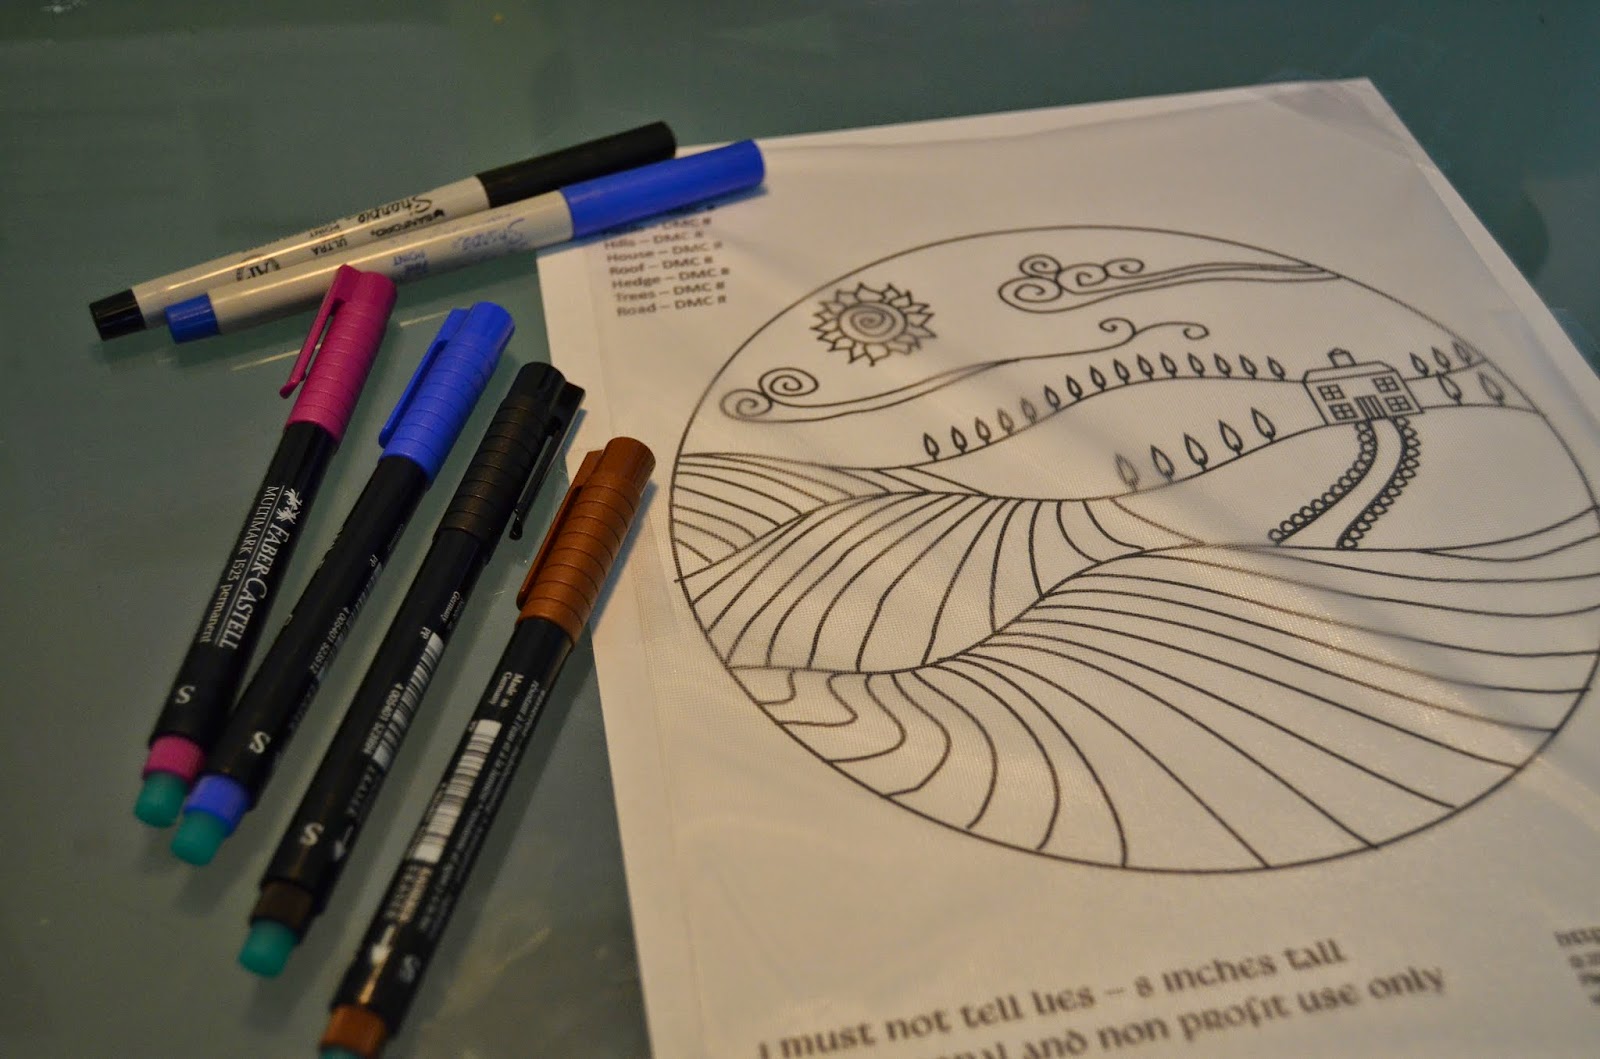
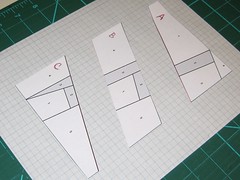
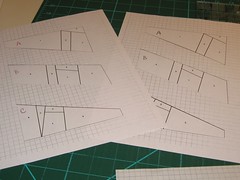
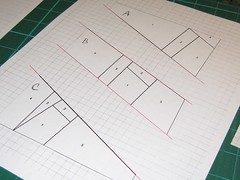
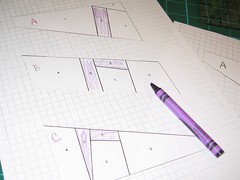
First tape your pattern onto your table and then tape a piece of your water soluble stabilizer on top.  The tape keeps things from sliding around while you trace.  I use permanent markers to trace the pattern and haven't had any trouble yet.  You have the freedom here to mark your pattern in different colors.  This can help you keep track of when you need to change thread colors. 

But wait a minute.  This piece of stabilizer isn't much bigger than the pattern?  How can I secure it to my fabric if it won't fit in the hoop?
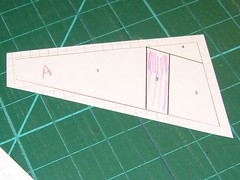
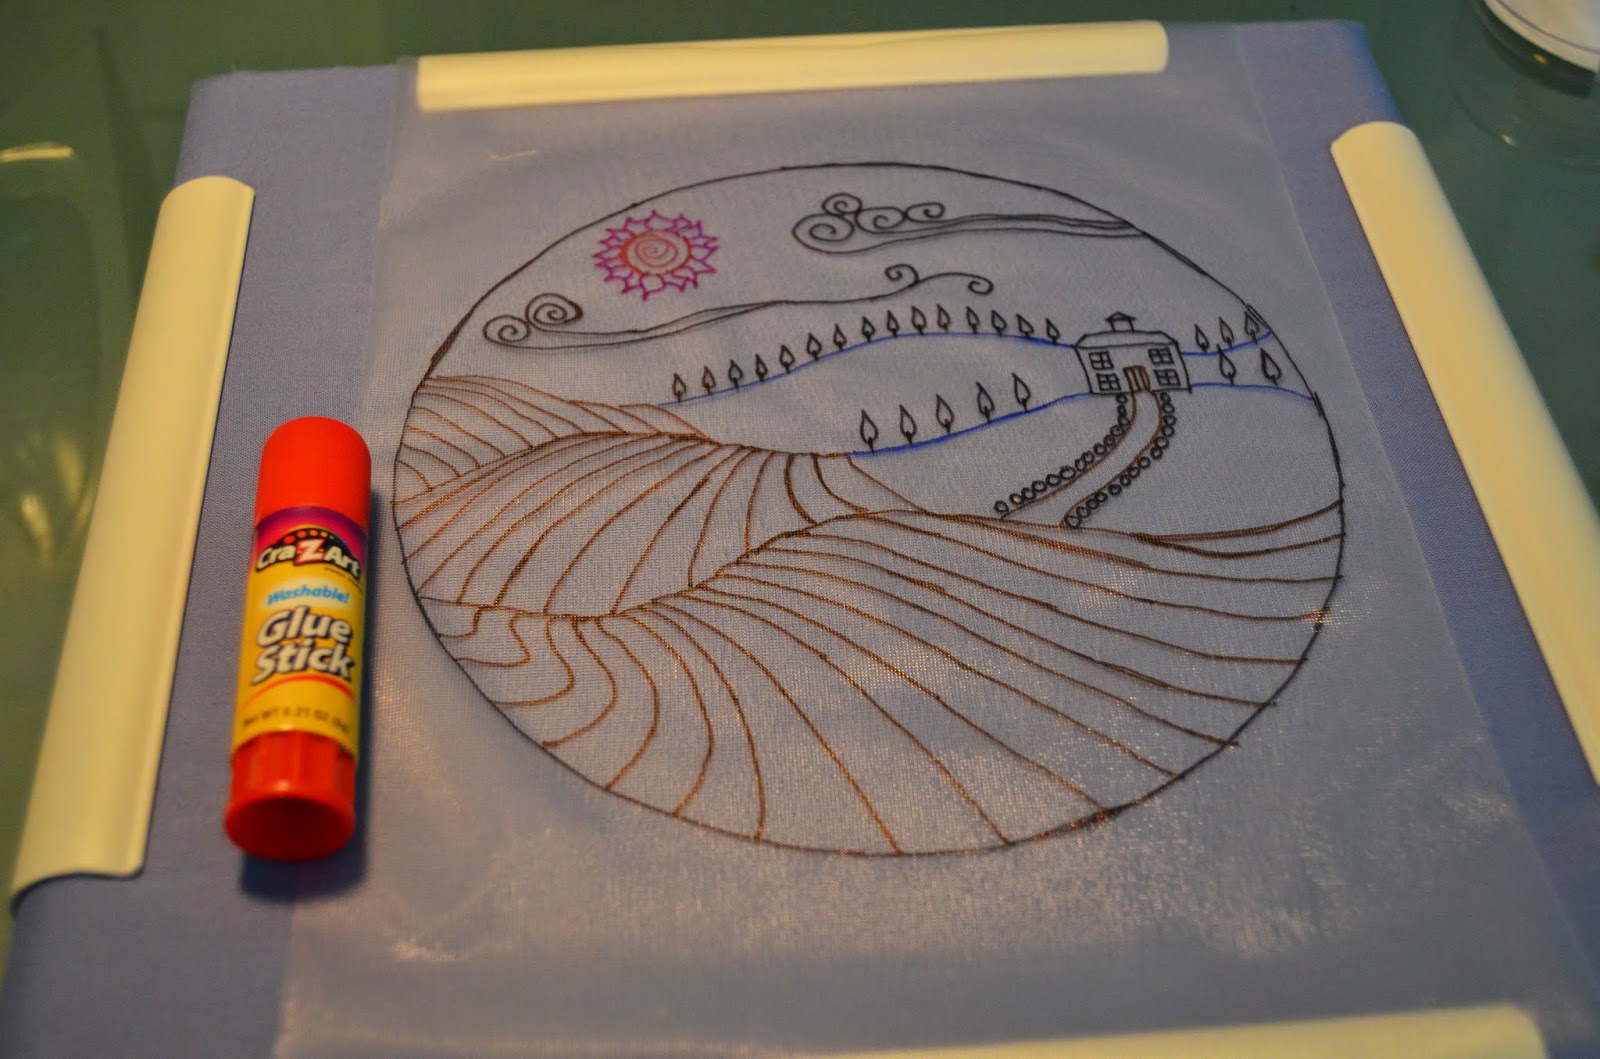
No worries!  Just grab a glue stick.  I turned the pattern face down and applied the glue to the stabilizer around the outside of the pattern, avoiding the areas with markings.  I then gently laid the pattern-marked, glue stick-backed piece of Solvy to my framed fabric.  Next I turned my frame over so that my fabric was flat on my desk.  From that position, I could firmly press the fabric and Solvy together, so they would adhere.

After that I was ready to begin stitching.  Always cautious, I began with the outer ring first and stitched in the whole pattern.

Just like when I used a water soluble marker, I store my work in a plastic bag when I'm not stitching to protect it from accidental spills and Deep South humidity.  That said, I've never had a problem with this stuff gumming up my needles.  

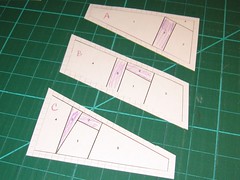
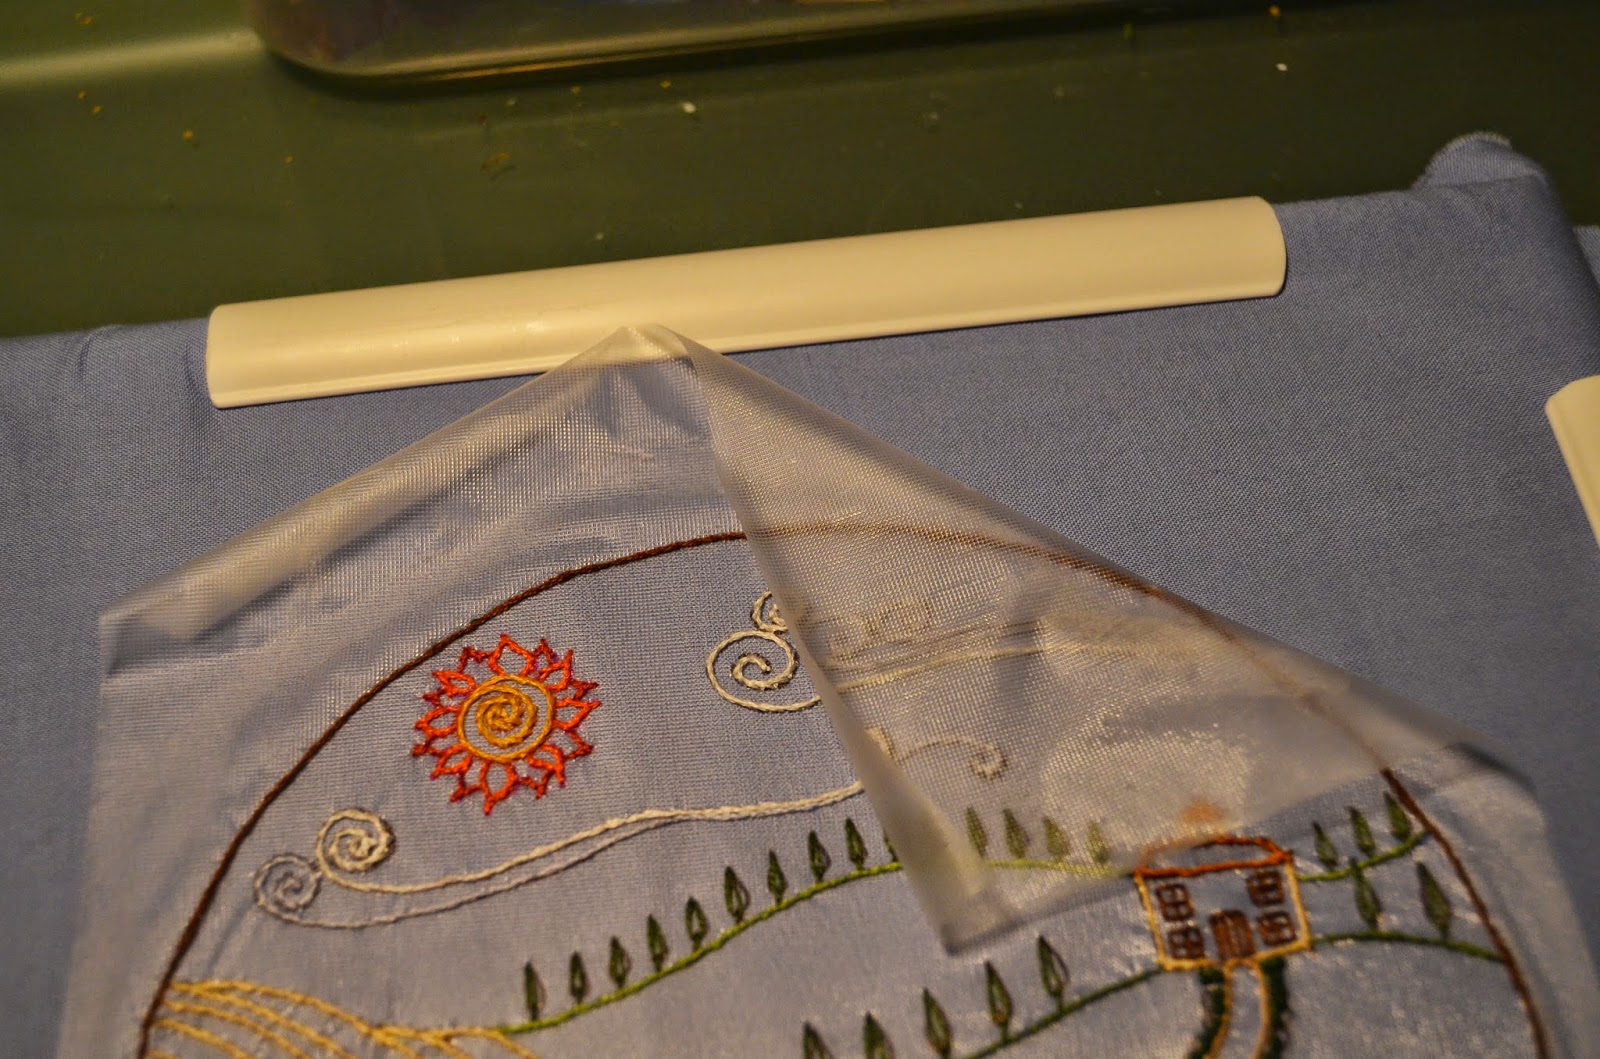
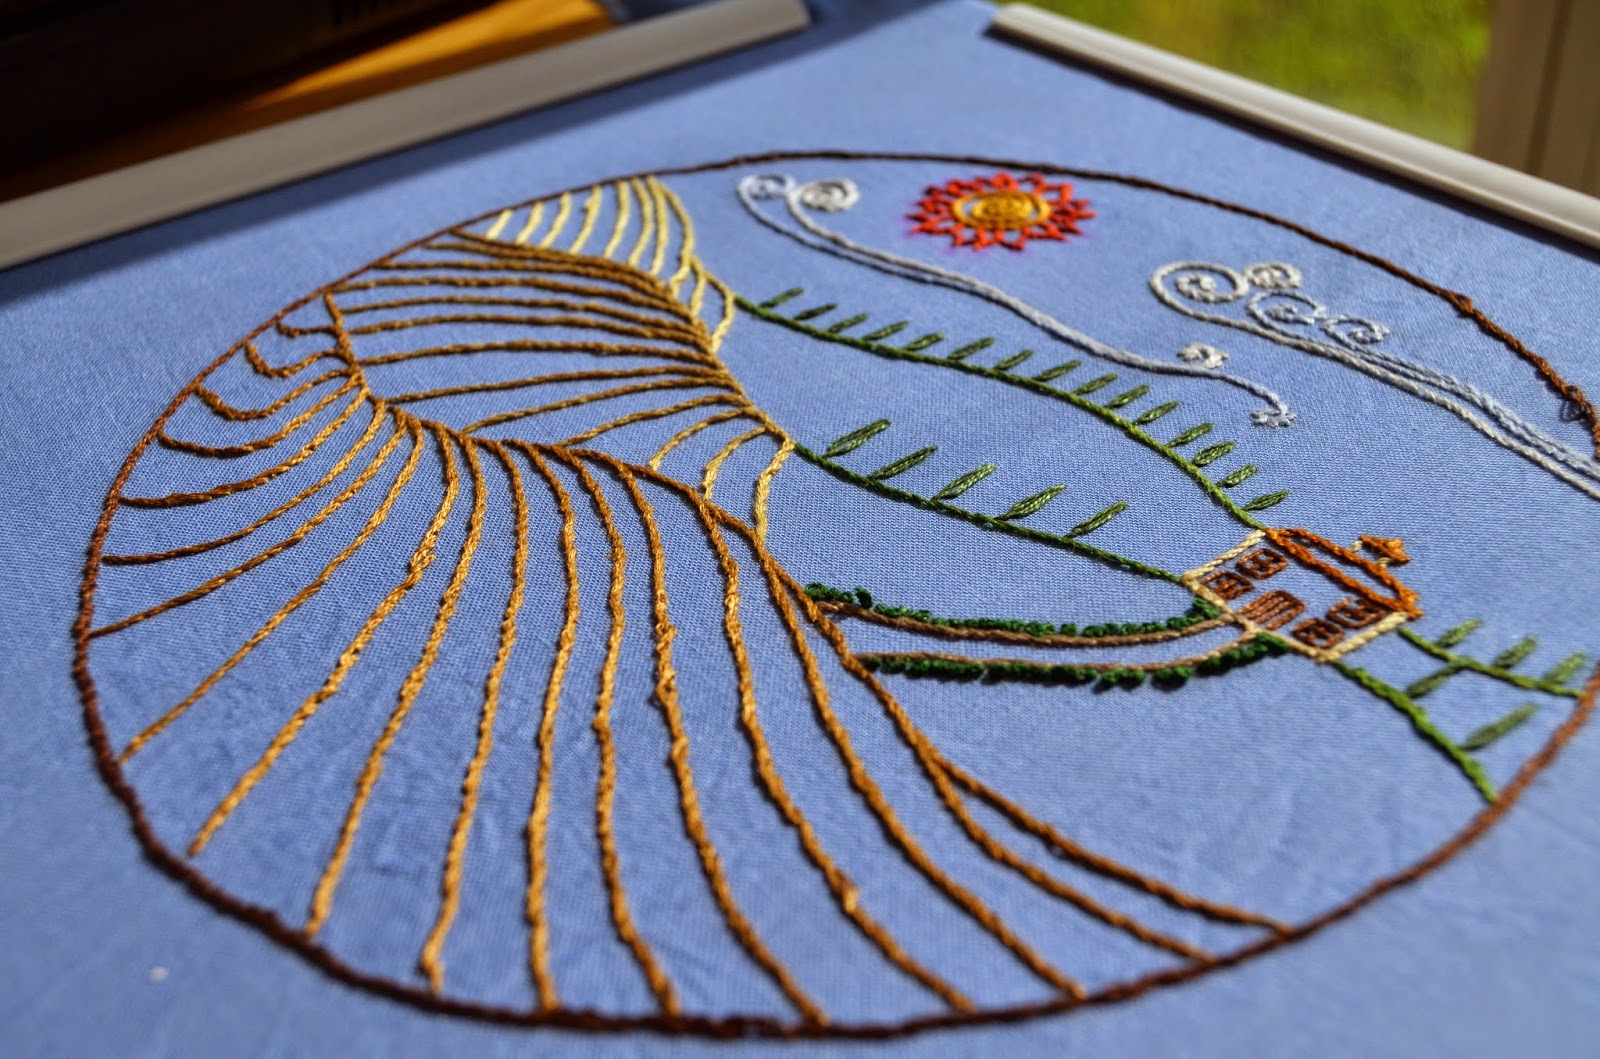
Once the stitching was done, I peeled back the 
Solvy and you can see that the glue stick left no residue on the fabric.
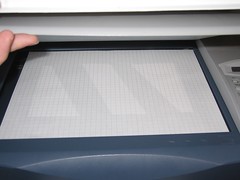
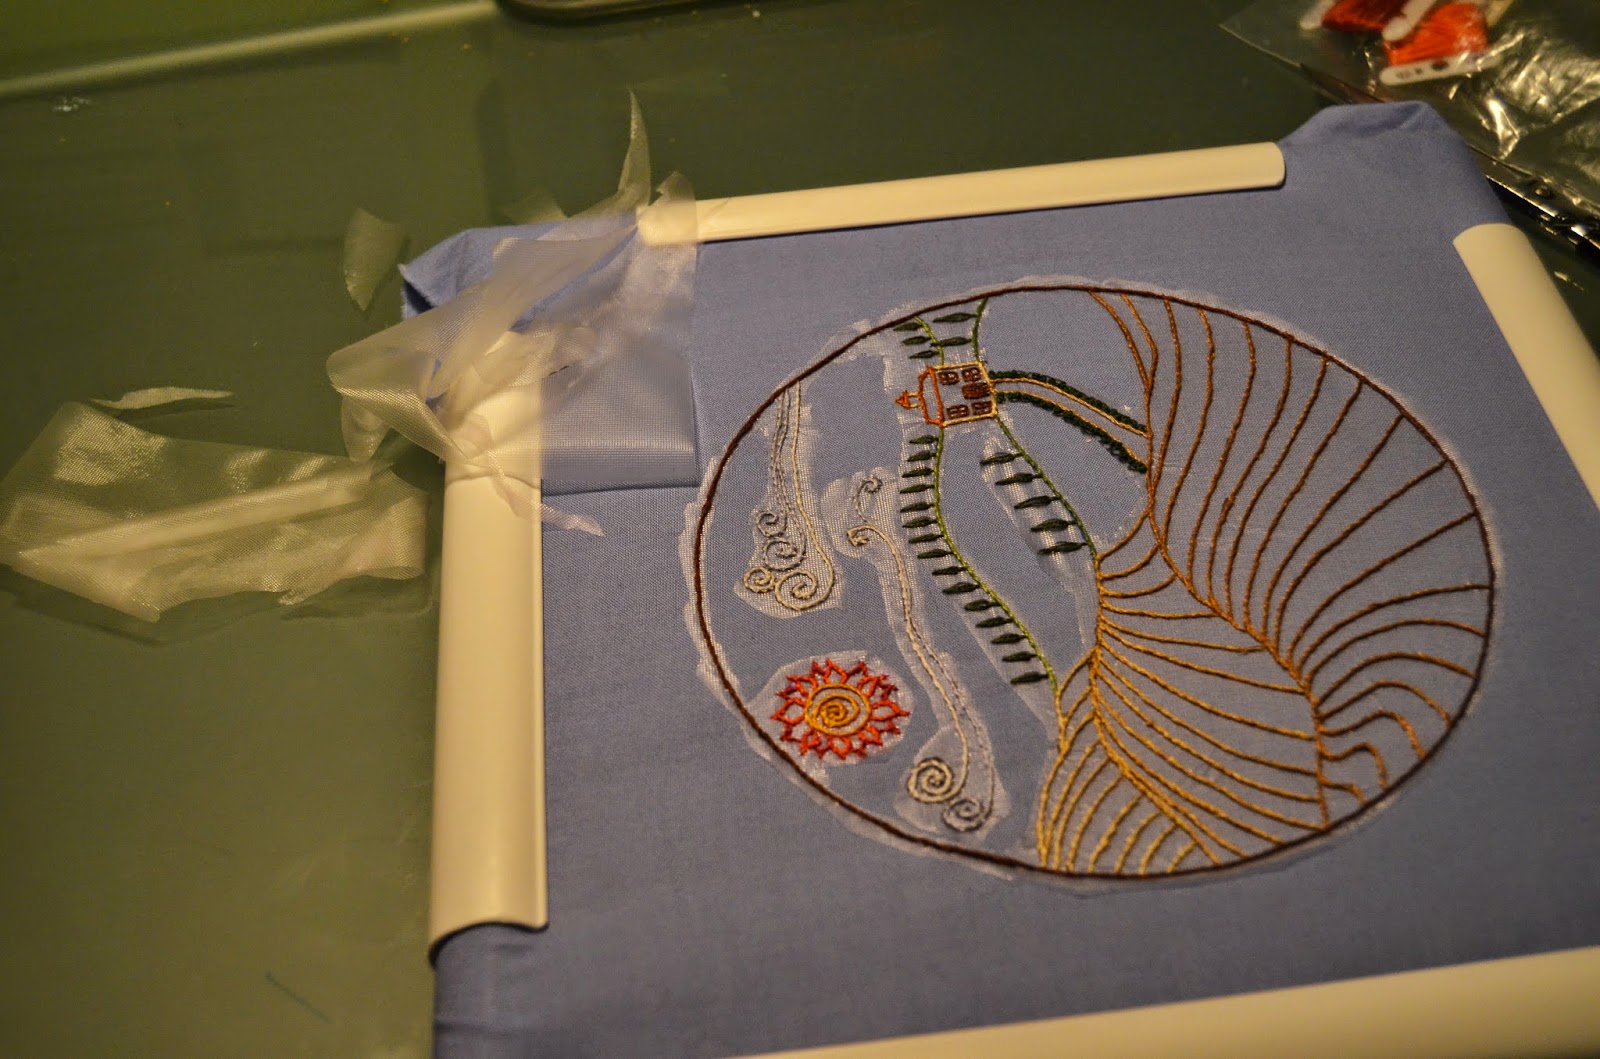
With a pair of scissors, I trimmed away the excess Solvy, but didn't worry about getting anywhere near all of it.  I didn't need to because it's going to dissolve when I give it a soak.  

I let it sit in a sink full of water for a few minutes, then rinse and dry.  Presto!  No more stabilizer.  Now, if you don't rinse it fully, your fabric may be a little stiff.  That's because this material is also used for sizing on textiles.   


So what is this magical material?  I researched a little bit and found out that it's a polyvinyl alcohol. It sounds strange, but it's used in lots of things.  From paper to concrete to eye drops, it's everywhere.  In this filmy form, it's probably most familiar to you as those trendy little pouches that contain dishwasher and laundry detergent.

I hope you found this tutorial useful.  It's my favorite method for intricate and/or large designs.  It doesn't smudge or smear like transfer papers do.  It's transparent so tracing the design is incredibly easy.  It is a little bit slippery, so be generous with your tape when you're tracing. 


Fandom In Stitches and it's designers do not hold copyright on any of the fandom titles represented on this site. Respective Designers reserve copyright on patterns only and request that out of respect for the fandoms we love, that you use them for personal and non-profit reasons only. The Designers at Fandom In Stitches receive no payment for any of the patterns posted and expressly forbid resale.

Wednesday, June 8, 2011

Seam Magic

You'll find a whole variety of patterns here on Fandom In Stitches, most (at the moment!) paper pieced. Many of these patterns include seam allowance and many do not.

If you're not a fan of seam allowance on your patterns, it's easy enough to trim off before you start piecing. If, however, you're like me, you may want seam allowance included when you paper piece. It's a visual reminder to not trim off too much fabric so that you'll have enough for your seams when you're ready to stitch.

I wrote the following tutorial some time ago for my own site, Sewhooked. I'm reposting it here because it's the easiest way I know to add seam allowance to a pattern!

How To Add Seam Allowance To A Paper Pieced Pattern
by Jennifer Ofenstein

You need access to a copy machine* (or scanner with copy feature), but beyond that, no special tools and only a few minutes of your time are needed.

Also included are suggestions for labeling and recording sewing order for later piecing.

*if you don't own a copy machine or scanner, you can trace the pattern with tracing paper, adding the seam allowance as you go.  That will work best with simple patterns, but if you're really patient, it will work for any pattern you need to add seam allowance to.

You'll need:
  • the pattern of your choice
  • a copy machine or scanner with copy function
  • graph paper, any grid size
  • a ruler
  • rotary cutter with an old blade for cutting paper (optional, but it's much easier than using scissors)
  • a red or colored pen or map color
  • crayons, markers, etc. (optional)


Print the pattern of your choice.


Using your ruler, draw over the lines where the pattern pieces separate (the seam lines), making sure you go past the outside edges of the pattern.  Red is used here because it's easy to see.
If the pattern does not have a line indicating where the outside edge is, I recommend adding one with your ruler.

If the individual pieces aren't labeled and you think you might need it later, label them now.  This is especially useful in more complicated patterns.  I like to use letters (A, B, C), but you can mark them any way you like.  If you need to, make a notation of how the pieces will go back together, for example:  A>B>C.
 
Use the rotary cutter to neatly trim the pattern to the seam lines, cutting through those that go across the pattern.  You can use scissors here, but you need to be extremely precise.


Place the pattern pieces face up on a piece of graph paper, using a dot of glue or piece of tape to hold them in place.
Any size grid will do.  The grid will make the seam allowance distinctive without using up too much ink.


Place the grid paper face down on your copy machine or scanner and make a copy.

A colored copy (L) and a black & white copy (R).  Either works fine.


Using your ruler and red pen or map pencil, draw lines along the inside seams.  This will give you a reference point for lining up your pieces later.  See:  Paper Piecing:  Step By Step for additional instructions.


If you'd like the pieces of your pattern colored for easy reference while you're piecing, now is a great time for that.  Grab a crayon and color away, marking as little or much of the pattern as you wish!  This is a great trick to use if you're piecing with more than two colors so you don't accidentally mis-piece any fabrics.


Using your rotary cutter and dull or paper-designated blade, trim the pattern pieces leaving a 1/4" seam allowance.  It's easy to see the grid left from photocopying.


Repeat on all pattern pieces and you're done!  The pattern has seam allowance and you're ready to piece.

Wednesday, May 18, 2011

Everybody Needs A Little Help Sometimes

Need a little nudge to get you moving in the right direction?

We're here for you! The Help page is now live! You can find helpful links to tutorials to help you on your quilty way.

We're currently accepting tutorial recommendations for:
  • Appliqué
  • Quilting (hand & machine)
  • Traditional Piecing

Wednesday, May 11, 2011

Quilting Help

Help, I need somebody
Help, not just anybody
Help, you know I need someone
Help!


The Beatles, Help

Have a favorite technique tutorial? Find a broken link?

How to Use Fandom In Stitches

  • Difficulty Levels - FiS patterns are rated on a scale of 1 - 5. You can find this chart (or similar) on each pattern page. Patterns are rated by their respective designers. 

  • beginner

    adv. beginner

    intermediate

    adv. intermediate

    advanced
  • When printing pdf patterns, choose "no scaling" for the most accurate pattern size. This is especially important on paper pieced patterns.
  • How to Enlarge & Reduce patterns
  • How to be a Fandom In Stitches Designer

Applique

Binding

Designing Your Own Patterns

Embroidery

Paper Piecing

  • About Paper Piecing - an entire page of tutorials and information, including a free online class from Jennifer Ofenstein.
  • Practice Paper Piecing from Quilter's Cache
  • Paper Piecing Art: Beginner & Beyond (Learn to Paper Piece), a complete video tutorial from Jennifer Ofenstein
  • Paper Piecing Tutorial from Such A Sew & Sew
  • Paper Piecing a 5" Harry Potter block from ThriftyFun
  • How to Paper Piece video in Italian by Gaya
  • More Paper Piecing Hints

    • Always use 100% cotton, good quality quilting fabric.
    • Use lightweight paper when printing, as it tears off easier. Recycled printer paper works great. You can also try a specialty paper like Carol Doak's Foundation Paper .
    • Many of the patterns include 1/4" seam allowance, for those that do not, you can easily add it using this tutorial.
    • Our Designers originate from all over the world, and paper sizes vary. Printing with "no scaling" ensures that patterns print at the size the designer intended.
    • 5" patterns can easily be enlarged to 10" by copying at 200% on your own printer or at a copy shop (they can use bigger paper!) OR use our handy tutorial for enlarging/reducing your patterns at home. You may find that more complicated patterns are easier to piece when enlarged.
    • When enlarging patterns, we recommend printing, cutting apart the pattern pieces and enlarging the units individually.
    • Almost all patterns are mirror images. The image will be correct AFTER you piece it.
    • To make sure your blocks align perfectly, find adjacent corners of two pattern pieces, push a pin through the exact corners of each to match the two. Pin or hold the pieces in place for sewing.
    • Colors used on patterns are just a guide for fabric placement, the selection is up to you. Black and white printing is always an option.
    • Leave the paper attached to the block until you sew it in it's final place, whether it be a quilt, purse, etc. That will keep the bias edges from stretching.
    • Most of our patterns are multi-unit patterns. Accuracy is very important. If you're new to paper piecing, just take your time and practice, practice, practice!
    • Suggested uses... quilts (of course!), handbags, banners, pillows, totes... use your imagination!

Quilting

Rotary Cutting

Traditional Piecing

Have a favorite technique tutorial? Share it in comments and we'll add it to the list!